Production
When you click on a production building, it triggers the opening of the production window.
Activities
In the "Activities" tab, you can access details about the building's production processes. Below you'll find an explanation of production from left to right.
Priority
The left number represents the priority assigned to each process. Use the arrow buttons to adjust the priority, either lowering or increasing it.
Pause
Next to the priority setting, you have the option to pause or resume a particular process.
Resources
For processes that require resources, you can view the necessary resources and their current availability.
Progression
This progress bar visually indicates the active process, highlighting the primary goods being produced and any side products.
Max
The last number signifies the maximum output the process should achieve. You can adjust this value using the arrow buttons.
Employees
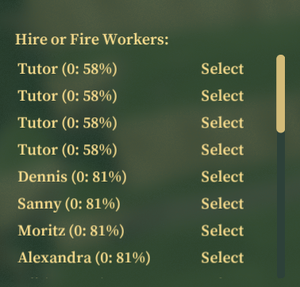
Hiring
You can hire workers for each position. When the tick mark is enabled, workers will be automatically hired if they have available capacity.
Use the minus button to remove employees from positions. To select a new worker for an empty position, simply click on the vacant spot. When then clicking on a empty spot you can select a new worker.
Faction
In the right column, you can find the name of the associated faction.
Upgrades
Different buildings offer various upgrades. You can activate these upgrades by clicking on them.
Goods
At the bottom of the page, you can view the delivered goods required for production as well as the goods produced.
Tips to boost production
Optimizing the production is crucial for big villages but also needs a lot of attention. It is important to find bottlenecks in the supply chain to get the most out of each building. The following example looks at cereal grain production and how to maximize it for a single farm.
Maximize cereal grain production
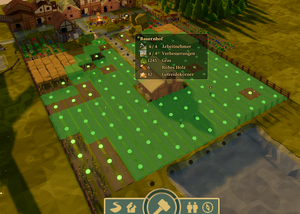
The starting scenario has one hand mill and one simple oven.Let's look at a farm with all wheat fields around it. The range is limited, so the fields in the corner normally will not get harvested.
Even if the farm is surrounded by wheat fields, sometimes only the inner fields get harvested. This indicates a potential bottleneck.
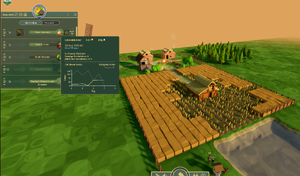
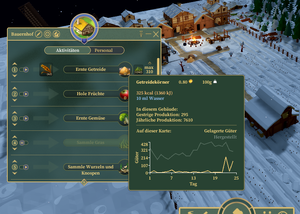
The yearly production of cereal grain in the example image is only 670. This is because the storage is always full. Upgrading the storage is always good, but to produce more cereal grain we need to make more flour out of it. The hand mill gets replaced by a windmill and the simple oven is replaced by a bakery. For 8 villagers and one fireplace this resulted in a yearly production of 1970 cereal grains.
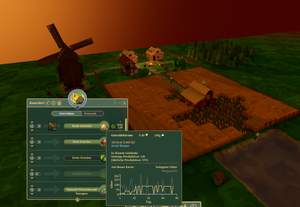
Checking the storage of flour and bread show increasing numbers. This means we produce more food than needed. So now we can grow the population again. The next image shows the production for a village with 33 people and 2 fireplaces. The yearly production shoots up to 7600.
This was only a simple example in an empty editor map with very short paths between the buildings. But it shows that it is important to sort out the bottlenecks and get the maximum out of production. This can be way more efficent than just building more farms.


